Common household laptops/Chromebooks/phones/pads working as ground stations are not discussed. The entire series of this topic has 8 blogs:
Antenna Cluster Planning
 For vertical-diving proximity, use 3-D modeling of the mission-scenario sketch. The Blender example is in the picture on the right. The small matchbox in the lower left corner is the base station. And, based on the mission scenario, the RF-control/FPV antennas are arranged to prevent internal interference and obstructions.
For surface proximity, ground obstacles were viewed in mapping software.

An example here is the low-tide exposed rock obstacles not shown in the map satellite images.

Zooming in reveals an extra outcrop of rocks blocking LOS of the 1km proximity site.
The land survey revealed a radio LOS dead zone packet during low tides.

The aerial survey avoided the dead zones with large margin accordingly.
This video also demonstrates the inadequacy of the single RF control antenna parallel to the boom. The craft crashed at the end with an RXLOSS warning.
However, during the actual proximity mission, the high tide prompted acute steering toward the land. Without an on-location survey, the proximity mission during high tide failed (drone loss in the sea) with altered path obstacles.
The high-tide view of the crash site immediately after the craft loss shows no sandy shoreline.


.png)
The red lines and red curves rest on the obsticale rock outcrop that blocked RF signals.

The view of the ground station is used to identify the on-location perspectives.


On-location perspective and tracing the path of the blocking obstacle were identified at the location of the crash.

The failed mission path and the original planned path were plotted.

The off-course path on-location perspective is identified next to the original planned (good LOS throughout) one. The doggy footprint trace is identified as the crash location.
.png)
.png)
The large rocks forming a diamond shape are a reliable visual landmark for an unobstructed path. A storm dispersed pebble stones in the picture.

Then, the proximity mission succeeded in the next attempt.
This video also demonstrates the interchangeable antenna of TrueRC and Runcam Link, with a 25Mbps data rate and a 25ms delay 1+ km away at 0:26, 0:30, and 0:35.
The in-car battery and VRX were under a white food bag to cool them in the sun during the mission.

Moving Obstacle Survey: Dive Proximity Punchout Runway Needs To Go Parallel Or Go With Waves
An example of a drone lost when the punchout runway goes against the wavefront is here. At 1:30, two pedestrians were walking onto the planned punch-out "runway" at the dive target, at the center of the four-rock diamond. Planned path (42.6336, -70.6095) toward (42.6335, -70.6102).
An improvised plan-B reversed the punchout direction, and the dive started at 2:50 (42.6335, -70.6102) toward (42.6336, -70.6095). The reversed punchout was met with a surge front instead of the planned parallel runway with the surges.
Lesson learned: Improvised plan B seldom works. The comparison pictures of the planned and improvised paths are as follows.
 |
 |
 |
The unexpected "ground" rise of the surge front required visual acuity for quick aversion. Still, I wore a pair of dark sunglasses with mirror plating due to the intense sunlight at the ground station (inside a car) of perfect weather. The "ground" appeared as a grey mat on the FPV monitor (16-inch gaming monitor).
Lesson learned: The ground station requires proper sun shielding over the FPV monitor to give consistent visual cues of piloting. I have ordered the cockpit-grade sun shielding for my car https://www.amazon.com/dp/B084QHVL6S?ref=ppx_yo2ov_dt_b_fed_asin_title&th=1
Be Skeptical Of Space Weather Kp Value
Continuing from the previous discussion of punch-out direction, the UAV Forecast app showed a red warning for Kp 6.0 on the dive day. The high Kp value is supposed to disrupt GPS, but the OSD latitude/longitude is just fine in the dive video.
 |
 |
 |
 |
Aim The Antennas At The Distant Lowest Altitude Level Of A Mission

Continuing from the previous discussion of punch-out direction, this particular mission has antennas on a tripod on the car roof. I experienced blurred FPV feed when the patch antenna was aimed at the dive target sky level during a trial before the mission. The actual mission result video shows less blurring when the patch antenna aims at the ground level of the dive target. It is well known that long-distance signal degradation first occurs near the ground, and that the signal is always much stronger in the sky. So, the antenna needs to aim at the ground.
SMA Connector Kit

The connector kit includes 18 exact connectors. 3 are needed to make 2 straight stalks, and another 3 (not overlapping with the former 3) are needed to make 2 bent stalks. Both the straight and bent sets of stalks raise the lollipop antennas above the obstruction caused by the tripod clamp, but the tripod is not required for either case.
The connectors for the corresponding stalks are listed in the following table.
| Straight | Bent | |||||
| In use (mating feature viewed from VRX upward toward lollipop antenna) |
|
| ||||
| For storage (single element stalk on the right) |  |  |


.jpg)


When storing the stalks, to avoid the effort of identifying and reassembling from 18 connectors, the 2 sets of connectors are recombined within their own sets, as shown in the last row of the table.
Free General Weather App To Predict Wind And UAV Forecast For Wind Profile
The UAV Forecast is less accurate than general weather apps for planning a few days ahead.
The following 3 pictures show that, 1.5 days ahead of a Saturday, the general forecast predicted a windy Saturday morning, while the UAV Forecast predicted a calm Saturday morning.
.png)

.png)


However, UAV Forecast provides wind speeds on the ground and in the sky, sometimes a 500% difference between them. The example sunset time here shows that GWeather reported a wind speed of 8mph, while UAV Forecast reported wind speeds of 5-6mph on the ground and 32-33mph in the sky.


The mission at that sunset time tested whether the production build's cusped airfoil stalls in red warning windy conditions with a stipulated 8-degree collective pitch angle. The real, actual wind speed (nearly windless) on the ground matched UAV Forecast's report when I stepped outside the car to deploy the craft. The mission video, between 0:00 and 0:12, shows a high down-pitch attitude keeping the craft in place, confirming that the wind in the sky was indeed quite strong, as reported by UAV Forecat.
The production build's cusped Joukowsky airfoil was verified without a stall in red warning wind conditions using UAV Forecast. The verification mission could not be done with the general weather GWeather app.Nonetheless, the general weather app often, but not always, can predict a calm, wind reversal time several days ahead with an accuracy of within 1.5 hours. UAV Forecast misses the time by 200% to the accuracy of the Google Weather app. The following is an example of predicting a wind reversal three days ahead for Wednesday at 11:00 AM.
 |
 |  |  |
 |
 |
 |
 |
 |
|
Highly Reliable RF Transmitter Setup
The module wiring is shown here and supports a maximum 250 mW TBS Crossfire RF module.

TODO: The yellow wire can be used as the 12V wire to power the VRX on the car roof, reducing the power chord cabling.
The ground preparation includes calibrating RF control sticks at the correct temperature. With the Radiomaster Pocket handset's factory calibration in a cool room, the thermal expansion of the stick components raises the PWM of the rotor RPM setpoint, as in the video on the right, resulting in failed arming with a spinning rotor and non-silent gyro IMU. The subsequent takeoff resulted in a crash (lost drone to the Atlantic Ocean). There is a prototype experimental avionics software that prevents crashes with arming failure, and there are specialty handset hardware that has extremely high thermal stability, but not the Betaflight v4.5.2 and mass production software/hardware. The correct temperature to calibrate the RF control sticks for the Radiomaster Pocket handset is the hot car temperature after the handset is under sustained sun exposure. The first segment of the video on the right was taken after the crash on the same day in the afternoon, with the handset still in factory calibration. During the crash takeoff, the throttle stick was 4 points higher than calibration and shown as -93 in the LCD display on the negative-100-to-positive-100 scale when the handset was subjected to sun exposure. The correct set point is -97 during idle and the boot process of the handset. The second segment of the video was taken after calibration in a cool room and subjected to another sun exposure. The set point varies by 11 set points of temperature fluctuation with sun exposure at an end point of the negative-100-to-positive-100 scale (it varies by 2 points in the very similar sun exposure) and can not be remedied by software scaling under 3%.


In the general operating notes https://nocomputerbutphone.blogspot.com/2018/09/converted-iot-drone-operation-notes.html , we showed that 4004 motors need the toned-down governor P-gain of 0.13 for proper RF control lost recovery. But, a high P-gain of 0.5 is needed for high-performance "punch up." In the RF control signal loss and recovery exercise in the video on the right, the 4004 motor's high torque with sudden high throttle breaks the motor anti-rotation zip tie when the ESC governer P-gain is 0.5. The wreckage of the crash has main motor power wires twisted due to anti-rotation zip tie failure. A common strategy is to increase the RF range to increase reliability. The TBS Crossfire RF control transmitter and diversity receiver setups with TBS Agent Lite (built-in to Radiomaster Pocket bundle SD card) follow.


The alternative Frsky R9M module can be set to output 500mW using alternative Taranis QX7's transmitter's regular power pins without external power source, as shown in this video,
This aviation sequence rehearses the mission plan, diving from 330 feet east, 440 feet north, ground distance 550 feet, air distance 1000 feet, relative to ground station. 3 flips above the landing patch area. Level traversal between 330 feet east, 440 feet north, and 330 feet straight east.
This aviation sequence rehearses the mission plan, diving from 330 feet east, 440 feet north, ground distance 550 feet, air distance 1000 feet, relative to ground station. 3 flips above the landing patch area. Level traversal between 330 feet east, 440 feet north, and 330 feet straight east.
Electronic calibration to fix aborted/diminished dive
The example on the right is of diminished dive happened with 1495us center pitch PWM output. The full deflection of the stick is 720 degrees per second. The 5us from center 1500us is 5 / 500 x 720 x 0.25(exp) x 6(sec) = 10.8 degrees tilted dive at the bottom of the dive. And this tilting is also very obvious when tethered hovering in hand.
Video Receiver Setup
The Povasee 5000 can power the Walksnail VRX for 25 minutes (without video recording) with only 2% battery discharge (from 100% to 98%), as shown in the following picture.


 The gaming monitor automatically adjusts its refresh rate to the highest the VRX can generate, as pictured here. There is no obvious way to change this, which is a good thing because you always get a consistent low delay. You can't mess up even if you want to.
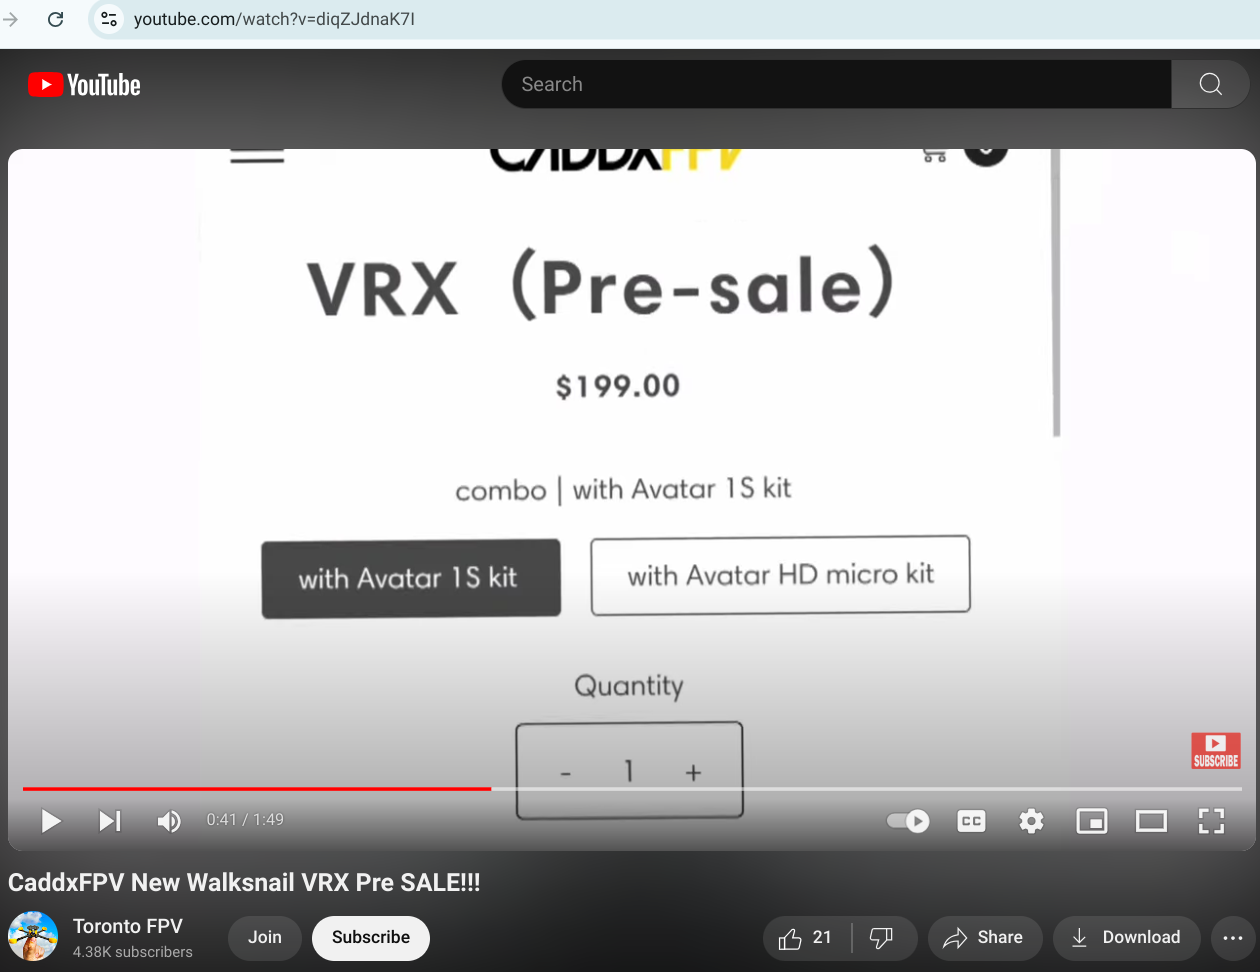 The brand-new VRX cost is here. However, it is much cheaper when you purchase it as part of a combo with a VTX. And our spreadsheet accounting uses the cheaper combo price and splits the low price into its component parts, as is practiced in the parts discussion chapter.
In-Car Battery Charging

The alternative TalentCell power bank YB1206000-USB has overheating protection. Keep it on the dashboard and plug it in year-round. If it is overheated by the sun, wait until it cools down to power on.
TODO: I have not tested the Povasee 5000 under the sun over summer to see its heat protection behavior.
Power Bank Povasee 5000 As A Safety/Security Device
Povasee 5000 performs well as a jump starter. After jump-starting a mid-sized car that required 2 attempts, the battery charge dropped to about 60%. At 54% charge, the 14.8V voltage was still sufficient for the ground station video system, as shown in the picture below.

The Povasee 5000 is compact and lightweight at a nominal 88.8Wh; no questions are asked when boarding an airline, as shown on the right. Charging a personal computer/phone at a public USB outlet is generally considered a security no-no. But the power bank can be charged from USB outlets without security concerns.
During international travel, power adaptors for one country often fail to fit another country's power outlets due to physical incompatibility. The power bank solves this problem as a security firewall. As shown in the picture, the outlet cables are plugged into the Povasee 5000 year-round, so you never forget to bring them. In the previous Video Receiver Setup section, the barrel-to-USB-C adaptor was seen with Velcro attached to the power cord when not in use for the same fail-proof purpose.


The Chromebook Plus, with a nominal 50Wh capacity, can be charged to 80% in 1.5 hours with the Povasee 5000, almost as fast as a PD maximized outlet. This also indicates that the Povasee 5000's actual capacity is about half its nominal capacity, near 44.4 Wh.
As shown in the picture above and on the right, for periodic inspection of the battery condition, the casing of the power bank can be opened with a standard Philips #2 screw driver and prying from the headlight seam. The headlight cover can be stored in the interior space, along with a plastic bag to hold the removed screws.
The extra interior space suggests that the original design of the power bank likely used a 4S 6 Ah battery pack, yielding a total energy of 4*6 Ah*3.7 V = 88.8 Wh, as in the specs. The manufacturer likely halved the battery pack, resulting in an actual capacity of 44.4 Wh.

The picture here includes 2 Arzopa cables, each with a gray organizer Velcro band. One goes from the Anker female USB-C outlet to the Povasee power input USB-C port. This cable is a PD+QC3 cable, and Anker does provide the maximum current QC3 can negotiate with Povasee. So charging the Povasee is much faster with the Anker adapter than with regular USB-A-to-USB-C outlets. But there is little risk of draining the car battery with this charging setup because the Povasee is plugged in year-round and stays at 100% charge, not actively draining the battery. And even when it does drain the car battery dry, it is a jump starter right there.
The second Arzopa cable connects the Povasee high-output port to the Arzopa monitor or to anything that needs charging. And it is charging a 12-Volt Hypertough rotary tool battery in the picture. The power bank's 15V barrel output cannot charge the 8-Volt Hypertough rotary tool's battery. It instantly destroys the tool battery's internal charging circuit upon plugging in, producing a white smoke plume. The official charger for the 12-Volt Hypertough is 5V/2A.
It is vitally important not to power up the car's battery in this setup, as the Povasee 5000 does not provide any power output while charging. To be absolutely safe, you can unplug the PD USB-C charging cable from Anker, but that undermines the assurance of an always-charged power bank, because immediately after a bad crash of the drone, you likely want to drive off the accident site and forget to re-plug the PD USB-C cable into the Anker charger.
Also shown in the picture is the charging of a toothbrush battery (with a glowing green rim).
Also shown in the picture is the charging of a toothbrush battery (with a glowing green rim).

USB-To-Barrel Cable/Adaptor Kit
The adaptor kit includes a USB-C (oblong silver) tip that works with a 12-18-volt fluctuating power bank, as seen in the previous section.
As shown in the following 2 video comparisons of powering the Pinecil soldering iron, the 5.5x2.5mm (white) tip delivers maximum power from a power bank for high-current tools, such as a soldering iron, and is almost indistinguishable from a PD maximized outlet. When the Povasee power bank powers the Pinecil small soldering iron, it retains 90% of the heating speed of the PD charging adaptor for the Chromebook Plus. The soldering iron stand is made from a large paper clip, shown in the video below.
Continuously discharge the Povasee 5000 to keep it awake while using it with the Pinecil soldering iron, as discussed in the previous section, with a toothbrush battery. This is because the Pinecil soldering iron uses a PID governor to periodically reheat the iron, with idle intervals of more than 5 seconds, and the Povasee 5000 times out its power outlets and itself after 5 seconds of idle. I have also tested using a phone to continuously discharge the power bank. The toothbrush's battery automatically shuts off when it is fully charged, so an alternative power source is needed.
 The USB-to-barrel cable/adaptor kit cannot charge the 8-volt Hypertough rotary tool battery, despite the official product charger being labeled as compatible, as pictured on the right. When I used the Adafruit USB-to-9V 1A adaptor with a powerful wall USB outlet, the adapter's display flickered continuously while the battery indicated continuous charging. The transient current at the moment of plugging in likely exceeds 1A at 9V and 2.4A at 5V. When using the Povasee 5000 as the USB power source for 9V, the 8-volt rotary tool's indicator flickers, indicating an unstable charge. When using the Povasee 5000 as the USB power source for 5V, the indicator is stable, but there is no charge after an overnight test.
Walksnail 1S Lite USB Adapter Compatible With HD V2 Cameras.
As long as the plug is aligned with the socket to the left most pin when viewing from the right side of the craft toward the left side of the craft.
Box 17.5 Inches Long And 3 Inches Thick Or Larger
Cut the cardboard by the green line and the seam line pointed by the arrow, cutting the box in half while keeping a lid.


FPV Feed Mission Path Tracking
The raw FPV DVR recorded mp4 of the tail-spin crash with fishbowl optical illusion is saved at googledrive https://drive.google.com/file/d/1IchzErZsqhmW0qukS_ZLuJz3CpO4A27t .
When viewed in Android MX Player or the FPV headset, the last 3 frames used to track down the wreckage is not available frame-by-frame. A laptop or Chromebook with Avidemux.AppImage is needed to step in the last 3 frames.
Avsaase/walksnail-osd-tool From Github
Compatible with Chromebook for crash GPS searching with frame-by-frame video of a crash.
Anthwlock/untrunc From Github
Compatible with Chromebook for crash-interrupted VRX .mp4 file un-corrupting. The code is based on original ponchio/untrunc that has bug compatibility with Chromebook.
  248  git clone --recurse-submodules https://github.com/ponchio/untrunc
  249  cd untrunc
  250  vim ../untrunc-master/README.md
  251  ls
  252  cd libav/
  253  ls
  254  ./configure
  255  sudo apt install yasm wget
  256  ./configure
  257  make FF_VER=3.3.9
  258  vim ../untrunc-master/README.md
  259  cd ../
  260  vim ../untrunc-master/README.md
  261  grep g++ ../untrunc-master/README.md
  262  vim ../untrunc-master/README.md
  263  g++ -o untrunc -I./libav file.cpp main.cpp track.cpp atom.cpp codec_*.cpp codecstats.cpp codec.cpp mp4.cpp log.cpp
-L./libav/libavformat -lavformat -L./libav/libavcodec -lavcodec -L./libav/libavresample -lavresample -L./libav/libavutil
-lavutil -lpthread -lz -std=c++11
  264  sudo cp untrunc /usr/local/bin
  265  which untrunc
  266  untrunc
  305  cd ../../
  306  cd MyFiles/Downloads/
  307  untrunc ./AvatarS0086.mp4 ./AvatarS0087.mp4
This comment has been removed by a blog administrator.
ReplyDelete